Thursday 30 May 2013

Nail Varnish?!

I paint in clutter, bottles and tubes everywhere. I have always done this, but it is time for a change....

I had to organize my workspace, so I began looking into ways to store my bottles of Vallejo and found (after trawling the Internet and mastering Google-Fu) many ways people had used.
  • Test-tube racks (Too expensive)
  • Wall mounted Spice racks (Too big a job)
  • Custom Laser cut wood (also Too expensive)
So I toyed with the idea of building o vertical rack from multiple cheap copies of Connect 4 but this proved impracticable and as I browsed Amazon UK I was close to giving up.

Then I saw it!

http://www.amazon.co.uk/gp/product/B00A78TXUI/ref=oh_details_o01_s00_i00?ie=UTF8&psc=1

 PERFECT, So I bought two. They arrived this afternoon and I hastily built them, I found that if I got 2 slightly longer Bolts from my tool box I could join them together at the middle to make a long sturdy rack, and although the seller did not state the inner dimensions each said they held 60 bottles of nail varnish, that translates to 85 bottles of Vallejo each, I have 169 bottle at the moment so just enough (until I buy 2 more paints)

Here they are fully laden.


All in all a great purchase and a much tidier desk.

Happy Painting

Mike

Wednesday 29 May 2013

First Batch of Support Weapons.

I have got around to adding some much overdue Support Weapons to my Red Army Battlegroup for BGK, each infantry Platoon may take up to 4 Platoon Support Options, these range from Medics to Anti Tank guns with  or without a Horse and Limber team. As I have an Infantry Company (3 Platoons) painted up I wanted to have a good varied amount of support, I began with the workhorse MMG of the Red Army - The Maxim, to make sure that I had enough I painted up three, 2 are from Elhiem (a mix and match of Matt's two sets) and the other is Zvezda with an additional crewman from Zvezda's PTRD team.


Close up rear view of each.


Next up are a couple of Mortars, A 5cm and an 82mm, The 5cm is a PSC Mortar with crew from the PSC Russian Zis2/3 with a Zvezda head swap plus an ordinary kneeling Sub Machine Gunner again from Elhiem,
The 82mm is Elhiem with some base debris from Skytrex.


A 45mmL46 was my next model of choice, It is Zvezda with an additional crewman from PSC with a Zvezda head swaps, a nice representation of the gun that can be built in firing or towed position, I will be adding a towed version with associated Horse drawn limber in the not too distant future.


Again from Zvezda is this little fellow, a 76.2mm infantry gun, and again it is a lovely little model that goes together with no fuss, I much prefer this version to the PSC one so I'll be picking up a few more soon. The additional crewman is from PSC with a Zvezda head swaps.


Finally from this painting batch is a Zis3 AT Gun, It is a Hybrid of a Unimodel and PSC Zis3 with PSC crew and Zvezda head swaps.


And just because I took the photo, Here is a group shot of the painting batch.


So that's it for the moment............. But "what's next?" I hear you cry.
I am currently adding loads of stowage to 5 PSC T34-76s and getting 6 more T70s ready so that will be coming soon to a blog near you,

Until then, Happy Painting!

Mike


Saturday 25 May 2013

A Review of Instant Mold.


Today I present a review and tutorial on the product Instant Moud, I bought this product Online from Firestorm Games in Cardiff (though they seem to be out of stock at the moment)

So, What is it?


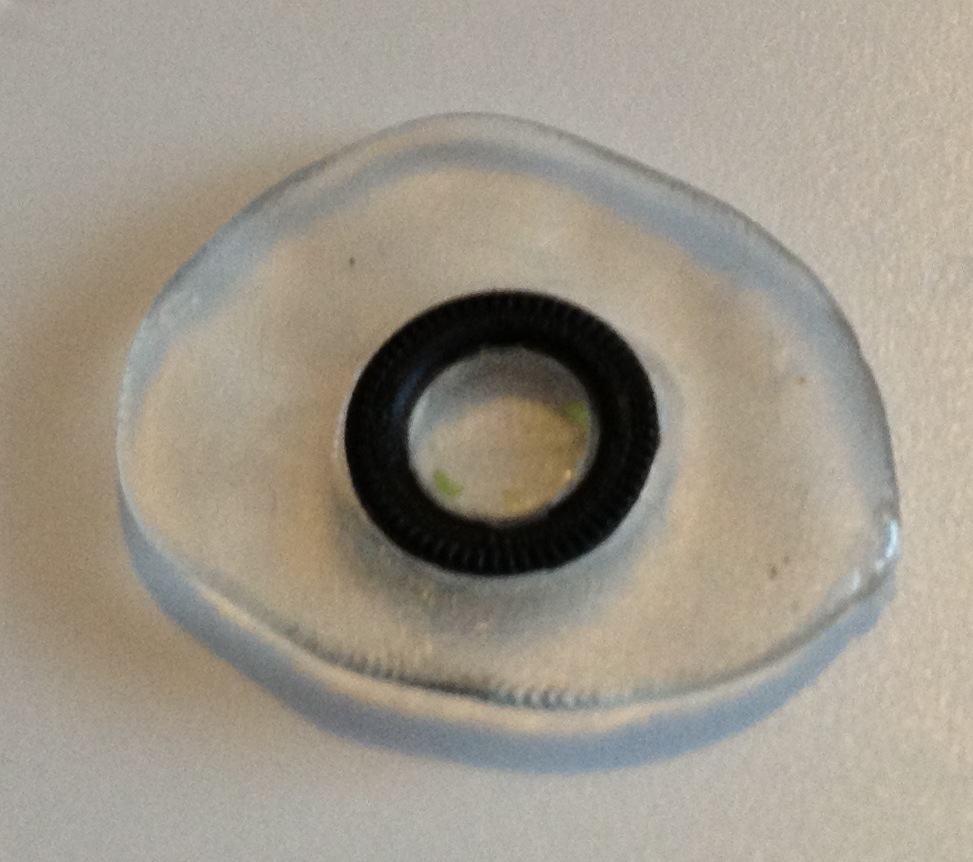
Instant Mold is re-usable putty with the texture of a Glue Stick like you would use in a hot glue gun, It is sold under the non brand name of Oyumaru. It softens with very hot water to the texture of blue tac (U.S. - fun tack), whilst warm you can press it over details of miniatures or models or ANYTHING and it will take a negative print from it, it then takes about a minuet to cool. When cool you can remove it from the moulded object and fill the resulting negative with a putty of you’re choice to create a copy, when the putty is cured you can remove the replica and either cast another or drop the Instant Mold back into hot water and use it again!


How much does it cost?

I picked mine up for about £10.00 for 6 strips, which are of course re-usable.


How much detail is copied?

All of it, or at least 99%, it may take a few attempt to get all of the air bubbled from the negative when placing in your putty


Can I fill a negative with resin?

No, most resins heat up as they cure so it would distort the mould.


What are the moral implications of Stealing Detail?

Well, this is a biggie, IT IS WRONG, ILLEGAL AND IMMORAL TO RIP OFF OTHER PEOPLES HARD WORK!  But there are a few reasons to give it a go. I have chosen the following example to justify my use of the product.

Vinyl Tyres on plastic kits – We all know the horror of track rot, I can’t help with this but I can offer a solution to vinyl tyres.

1 – Take a tyre and work out which way it will go on the kit, you want the outside of the tyre UP so it will be pushed into the mould.


2 – Warm up the Instant Mold as per pack instructions and push over the tyre making sure that it pushes tightly into the middle of the Tyre


3 – Allow to cool for 1-2 minuets
4 – Remove the negative from the tyre and mix up your putty of choice (I chose Green stuff)


5 – Fill the negative with your putty, use water to stop the putty sticking to your fingers as putty will not stick to Instant Mold


6 – let your putty cure for 6 or so hours until set.
7 – Remove your cast from the mould and there you have it, A tyre that will not rot over time


Bare in mind that this process has taken 6 hours and made 1 tyre, how many tyres are on a typical truck 6? 10? Or more so you may want to make more than 1 negative mould to hasten the process


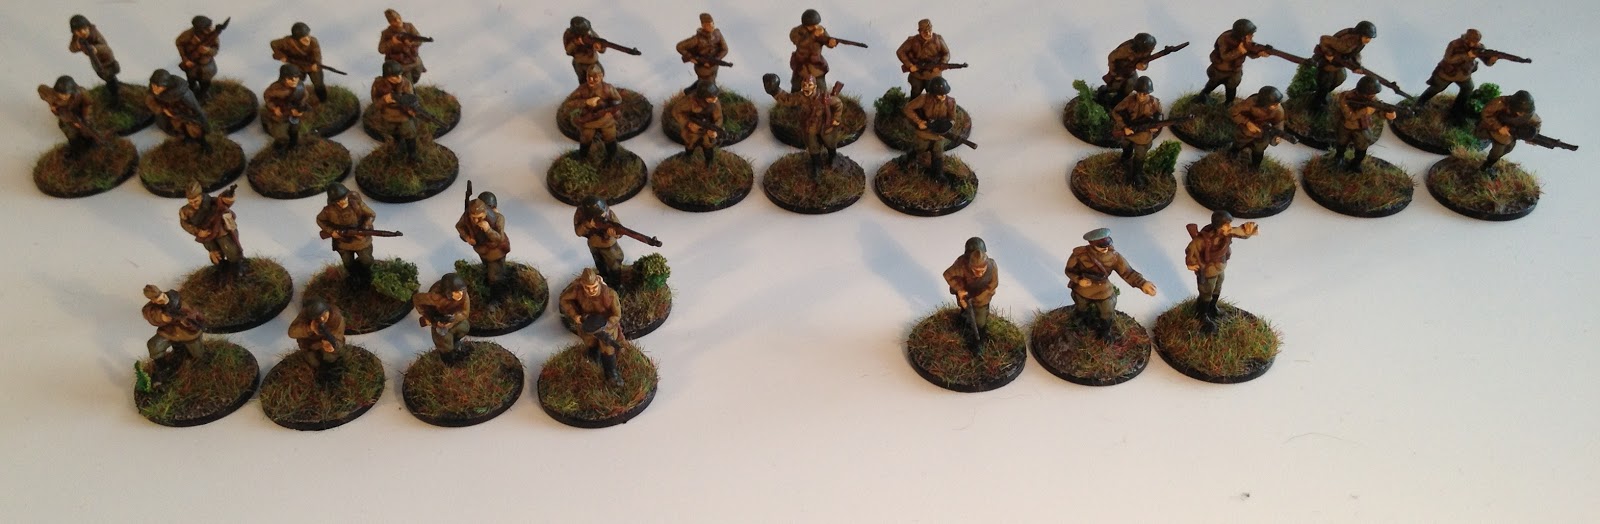
What else have I used it for?

I needed a load of crates for decorating AT and AA gun bases, so I cast a load of the plastic boxes that come with PSC Zis2/3 AT guns for this purpose, I do not see a problem with this so long as I do not plan so sell the cast items or pass them off as my own work,


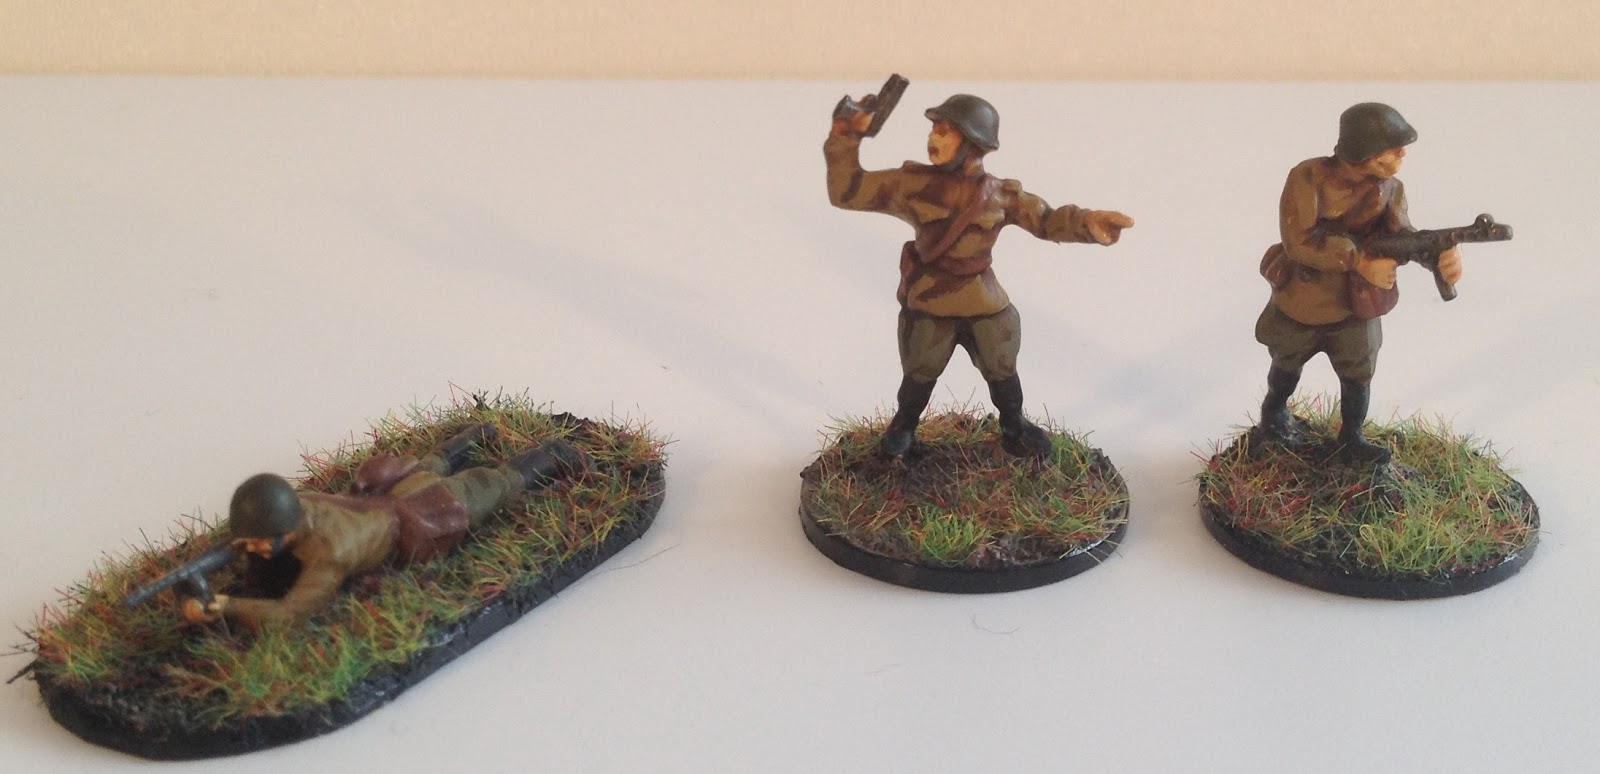
I have also added cloaks to Zvezda Russians by casting one from an Elhiem Russian with PpsH. I created the mould in the usual way by pushing it onto the cloak, but then I filled it with less putty than I needed and pushed the Zvezda Russian into it while un-cured. I left it to cure fully before removing the mold, I then had to add the front of the cloak using putty and regular sculpting to hide the joins.


What do I think?

I do enjoy using this product and highly recommend it, when I first used it I added new 3D shield designs to my WFB Dark Elves and I have loved using Instant Mold for all sorts of things since.

There are more uses than I could possibly list here, have a go but PLEASE…
DO NOT COPY WHOLE AREAS!
DO NOT SELL CAST PIECES!
AND BE CAREFUL, THE OWNER OF THE ORIGINAL MAY HAVE EVERY RIGHT TO ASK YOU TO STOP!
BUT MOST OF ALL……….HAPPY MODELING!

Mike

Wednesday 22 May 2013

Infantry Company Finished (at last!)

Last Night I wrote how I had brought my first infantry company back from a mishap with Dip, so in this post I'll add the Photos of how they turned out.

Here is the full Company as per Battlegroup Kursk, All miniatures by Elhiem, CP, TQD and Zvezda or my own conversions based there upon.


The Company Command Squad
The First Platoon
Close ups


The Second Platoon
Close Ups


Third Platoon
Close Ups


And here are a few extra bits and pieces that I painted up at the same time.
Sniper, Spotter and Medic


Sapper Squad
And lastly a miscellaneous bunch that will be carried over to the next Company including a Anti-Tank rifle.
So that's it for now, on the painting table are the support options for this Company, Three Maxims, a 45mm Anti-Tank gun, a 76.2mm Infantry Gun and a 50mm Mortar plus additional loader teams and Horse drawn limbers for the guns.

Well that's it Until next time.

Happy Painting

Mike


Tuesday 21 May 2013

Dip Disaster and another stage in Infantry painting.

I have spent a frustrating night re-highlighting one hundred and thirty Infantry after a near disaster with Army Painter Strong Tone Dip,
I have always painted my infantry by base coating, brushing on Dip then Matt varnishing. But today with haste to get a load of infantry ready for picture taking this blog post (Well you have to get photos in good light don't you?) I neglected to leave the Dip layer to harden properly before brushing on Vallejo Matt varnish. to my horror as the varnish dried small scaly areas began to appear before my eyes in prominent areas of every miniature.
I had  to come up with a plan and luckily the first plan worked - I let the Matt varnish dry completely, then brushed on Army Painter Soft Tone Ink which hid my earlier blunder and to my extreme happiness none of the scales showed through, but each miniature was far too dark for my tastes and the day light had started dulling so I knew that there would be no photo taking today.
I knew what I had to do, so I grabbed my smallest brush and began to highlight the minis all over with the base colours, by the time I had done all 130 it was 2:30 in the morning,
So......I'm off to bed, I'll post pictures of today's (or is it yesterday's) efforts tomorrow (or today) but at least I have a full Russian Infantry Company painted for Kursk.

Happy Painting

Mike

Saturday 11 May 2013

Boot Sale Plastic Horde

So, Yesterday I went to the In-Laws house and was surprised at what I was given, Made to close my eyes and hear my Mother-in Law ask the Missus "Do you think He'll like these?"
To my surprise I was handed a large carrier bag full of 1:76 and 1:72 soft plastic soldiers, Ancient Britons, Prussian Landwehr, ACW and best of all loads of Airfix and Esci WW2, so last night was  spent sorting the wheat from the chaff (or the WW2 from the others)
So far I have sorted the colours out into piles and will sub categorize from there, a daunting task as many identical bits appear in different colours.

The WW2 sorted by colour -


And the non-WW2


Something to do while listening to Audio Dramas then, I'll further update this post when I work out what is there but as for now I can see - DAK, Italian Mountain Troops, British in Burma, U.S. Infantry, U.K, U.S. and German Paratroops, Japanese and a few 8th Army

Hope to see you again soon


Mike